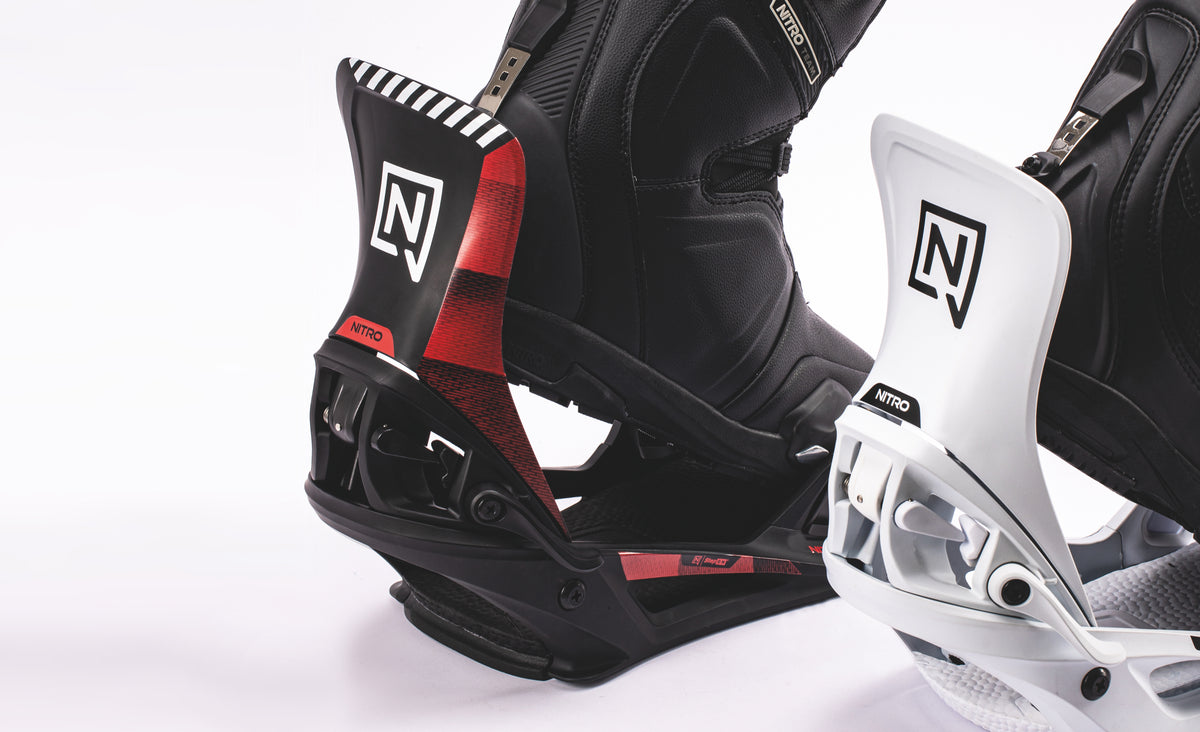
A user guide for all Men's and Women's Step On®
1. Overview

The Nitro Step On® binding is a quick boot-to-binding interface with a convenient three-point connection. Step On® boots feature toe and heel cleats that align with Step On® bindings for an easy-to-use, secure connection. Just Step On® and drop in!
2. Overview of Step On® Parts
Overview of Step On® Parts
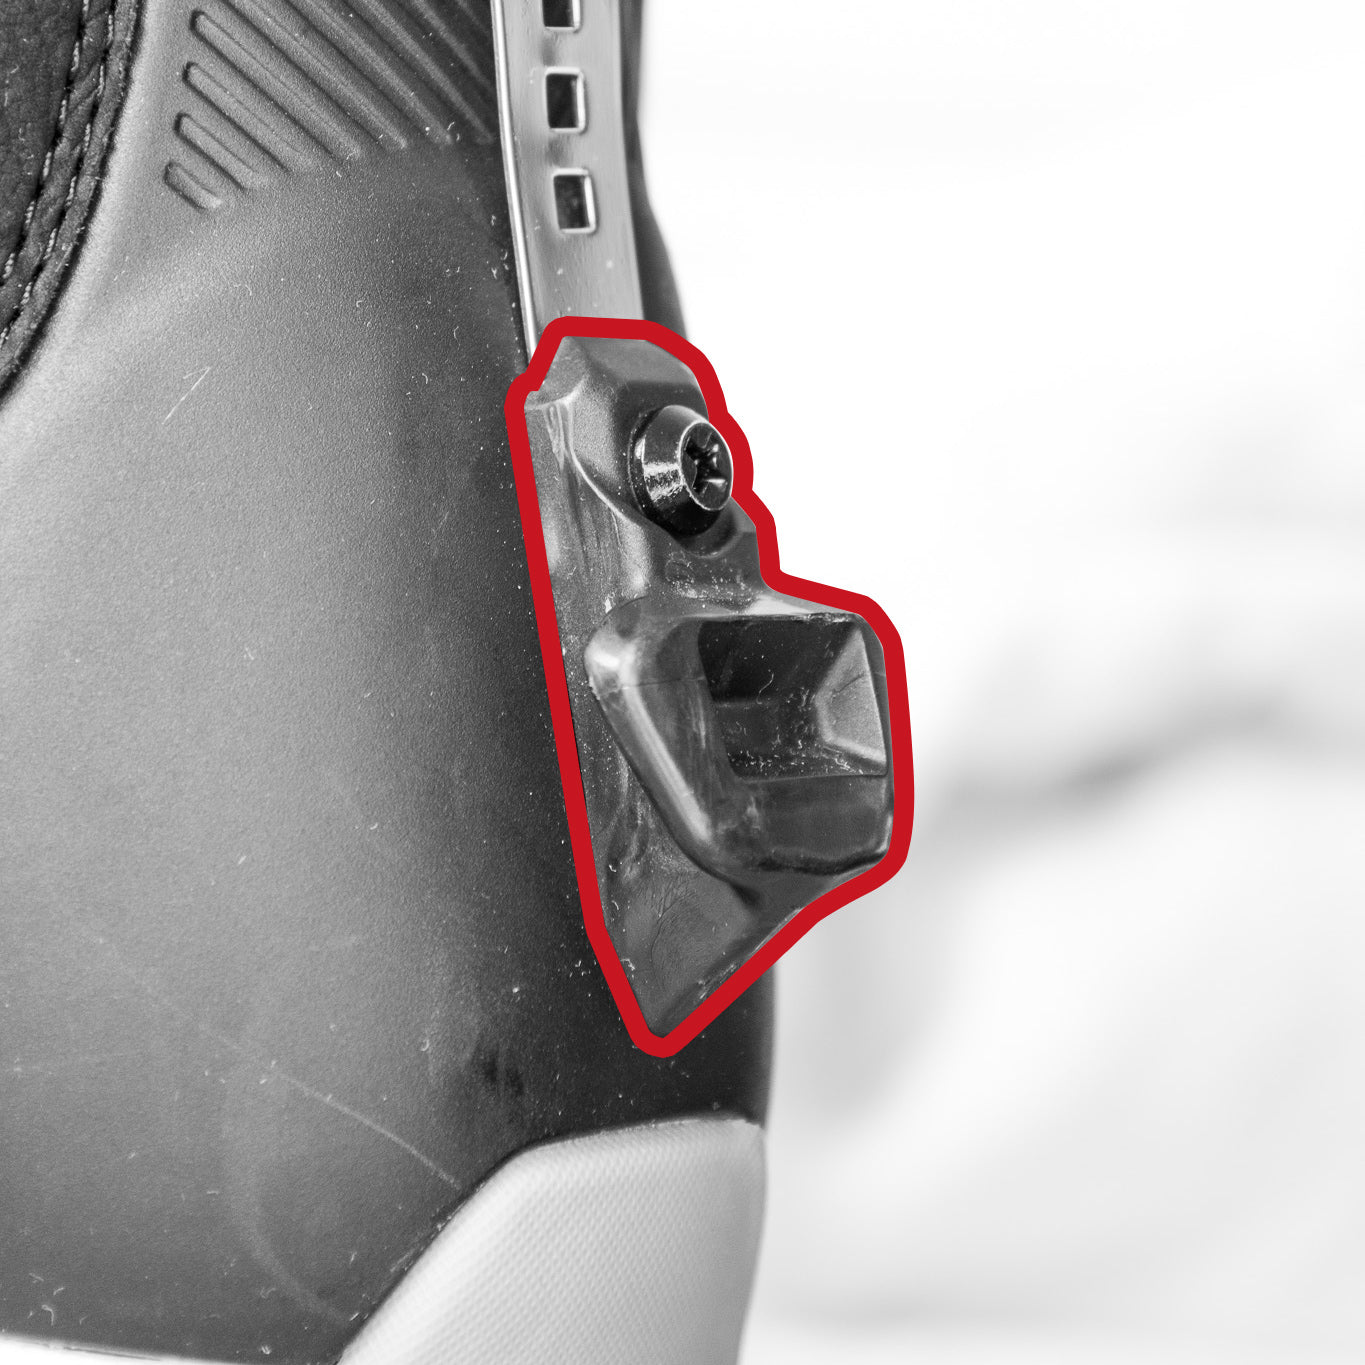
Heel Cleat
The Heel Cleat, positioned on the back of the boot, securely engages with the binding’s Heel Clip to lock the boot into place. There are two levels — two clicks. When you step in you will hear one click, then push down further for a second click.
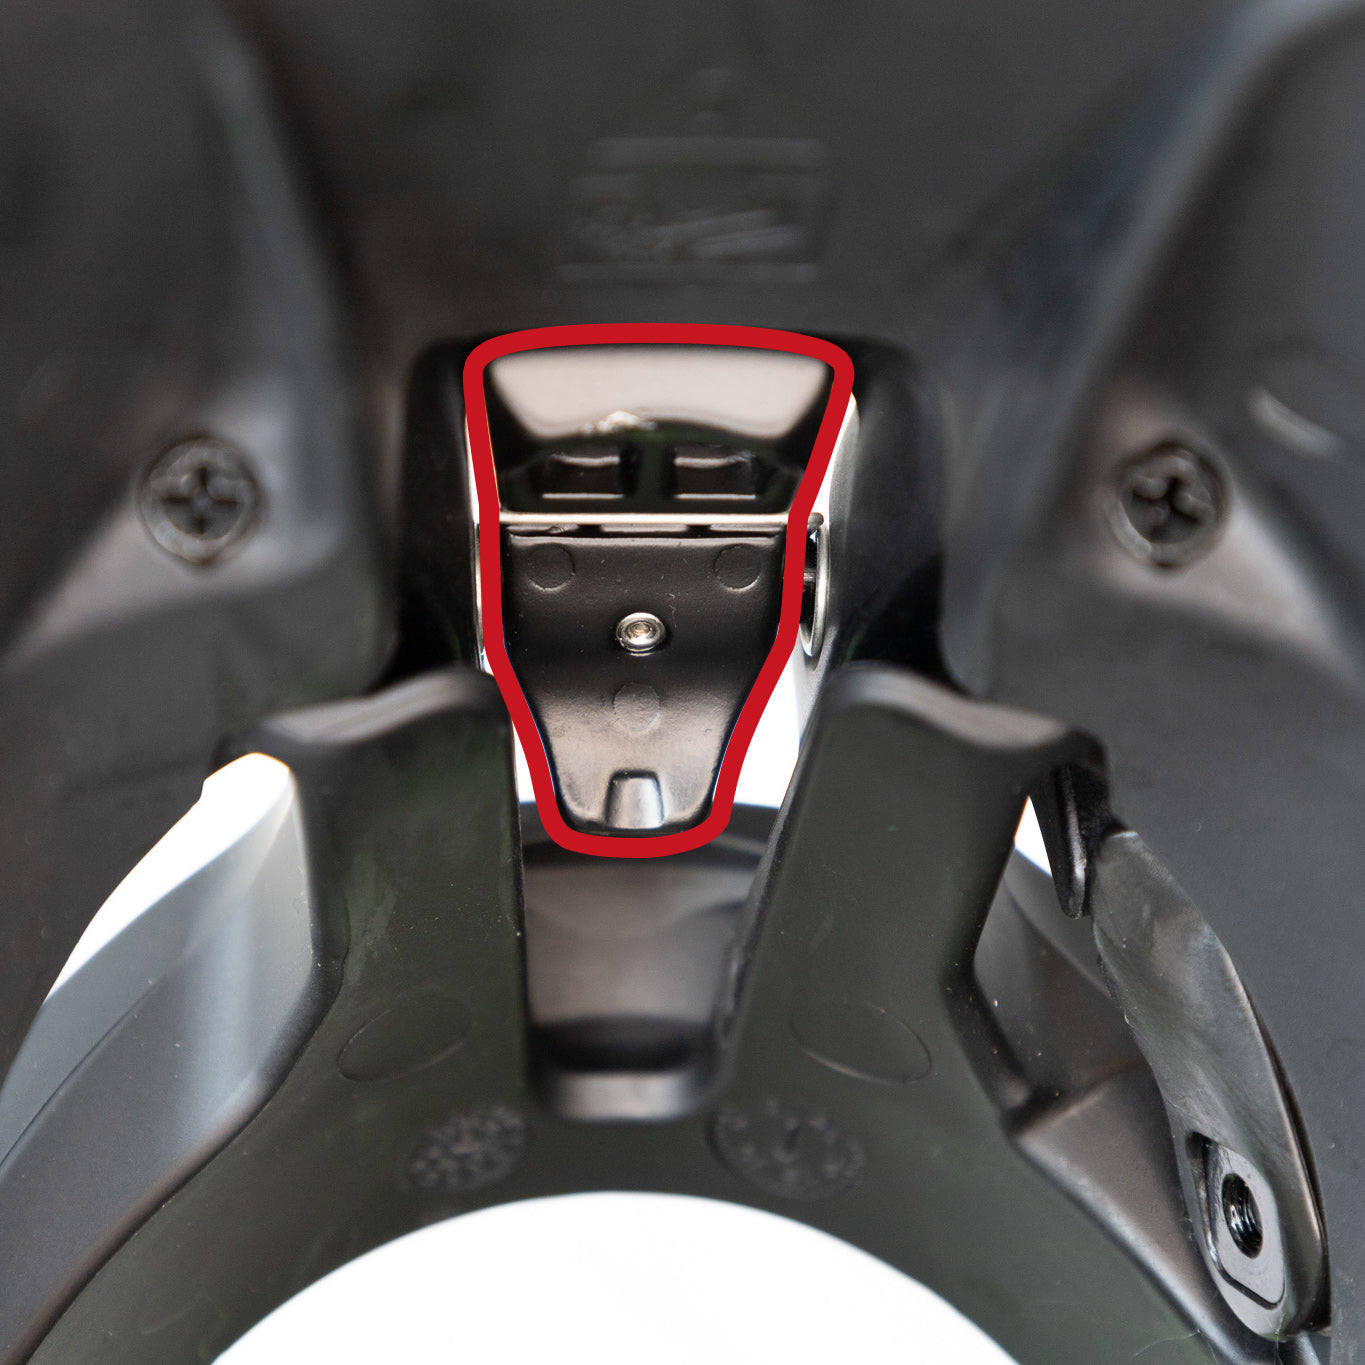
Heel Clip
The Heel Clip automatically locks the boot into the binding by securing the Heel Cleat in place — similar to a ratchet buckle on a traditional binding.
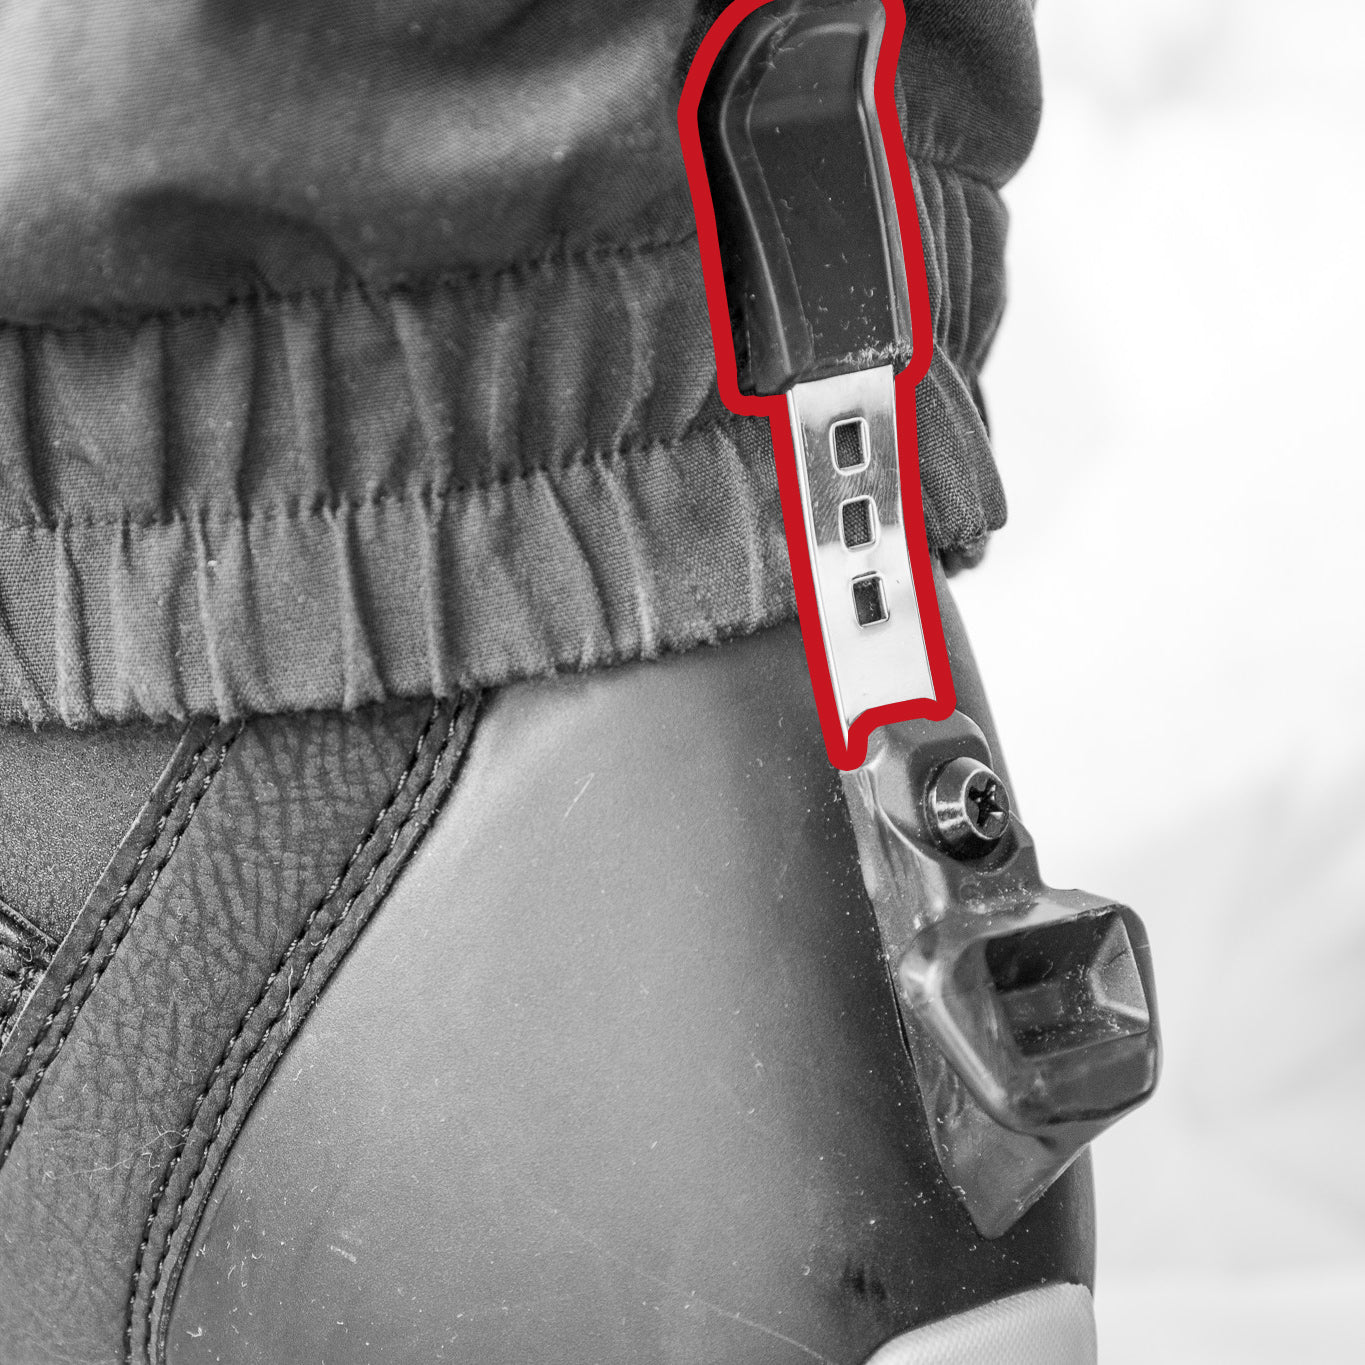
Cuff Clip
Integrated into the boot backstay, the Cuff Clip neatly manages pant cuffs to ensure a smooth, secure connection with the Heel Cleat.
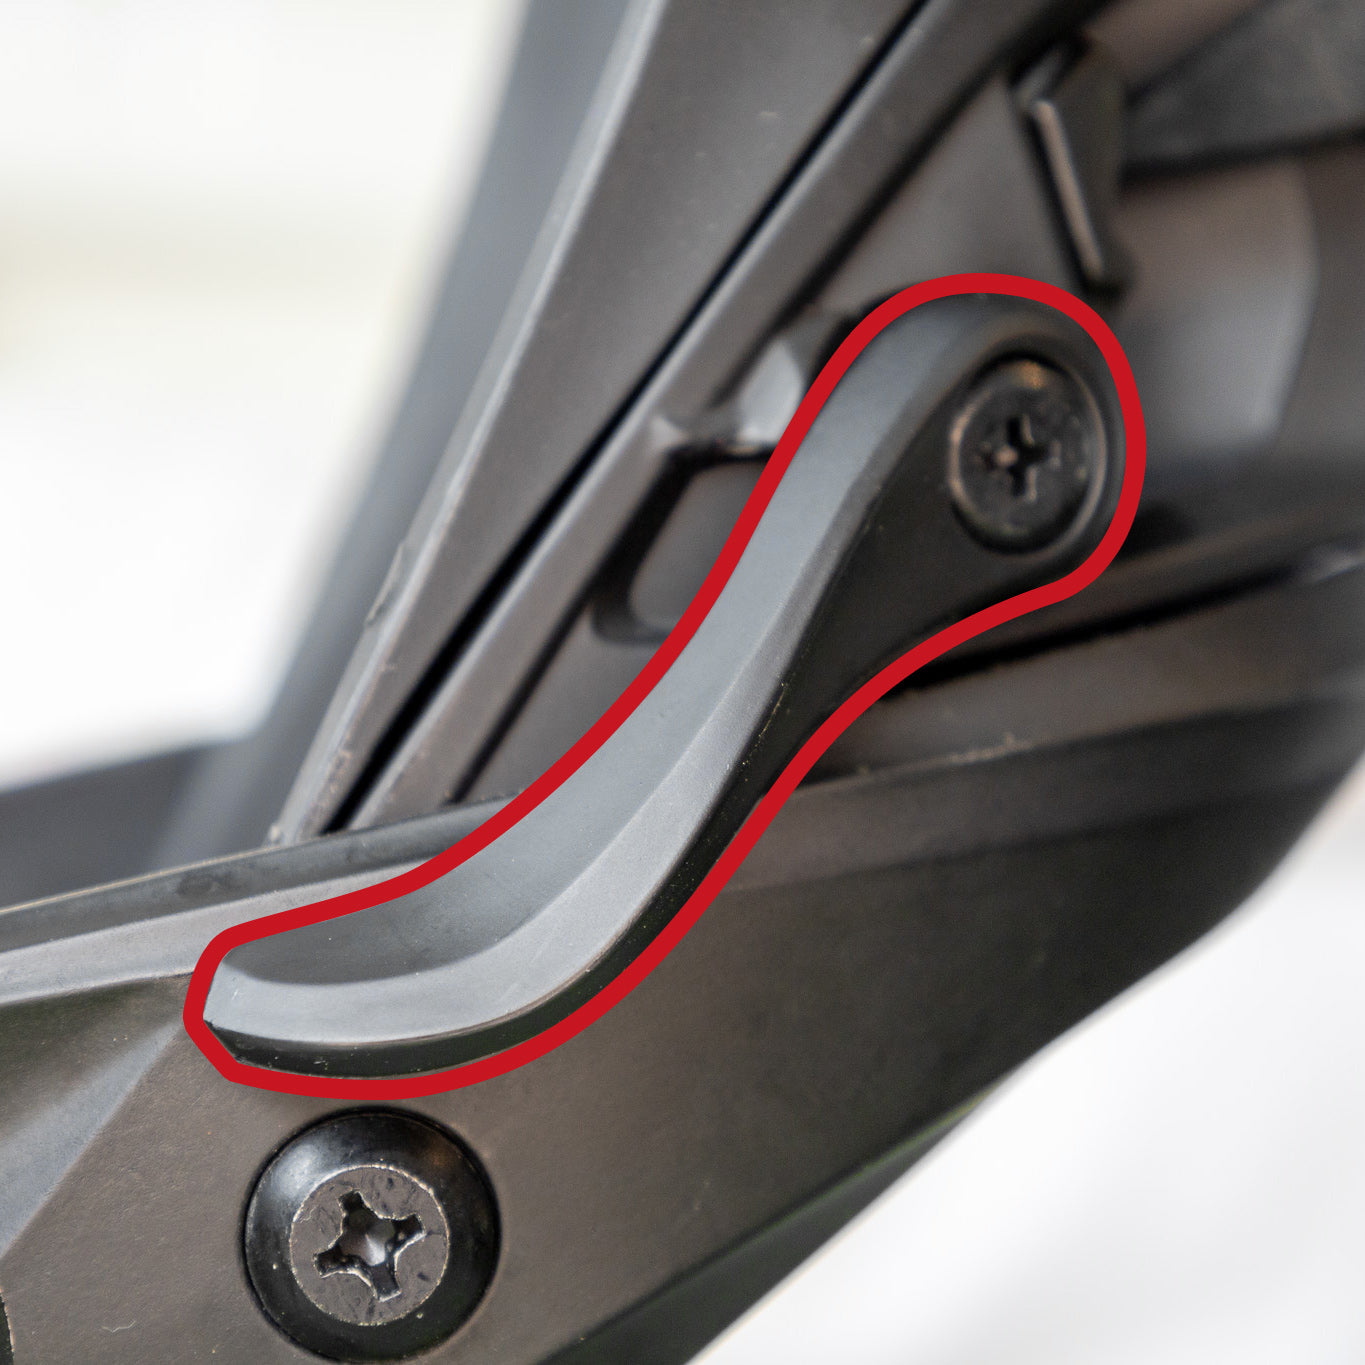
Release Lever
The Release Lever sits on the outside of the heel cup. Pull it up to step out — once released, it resets on its own so you can step back in right away.
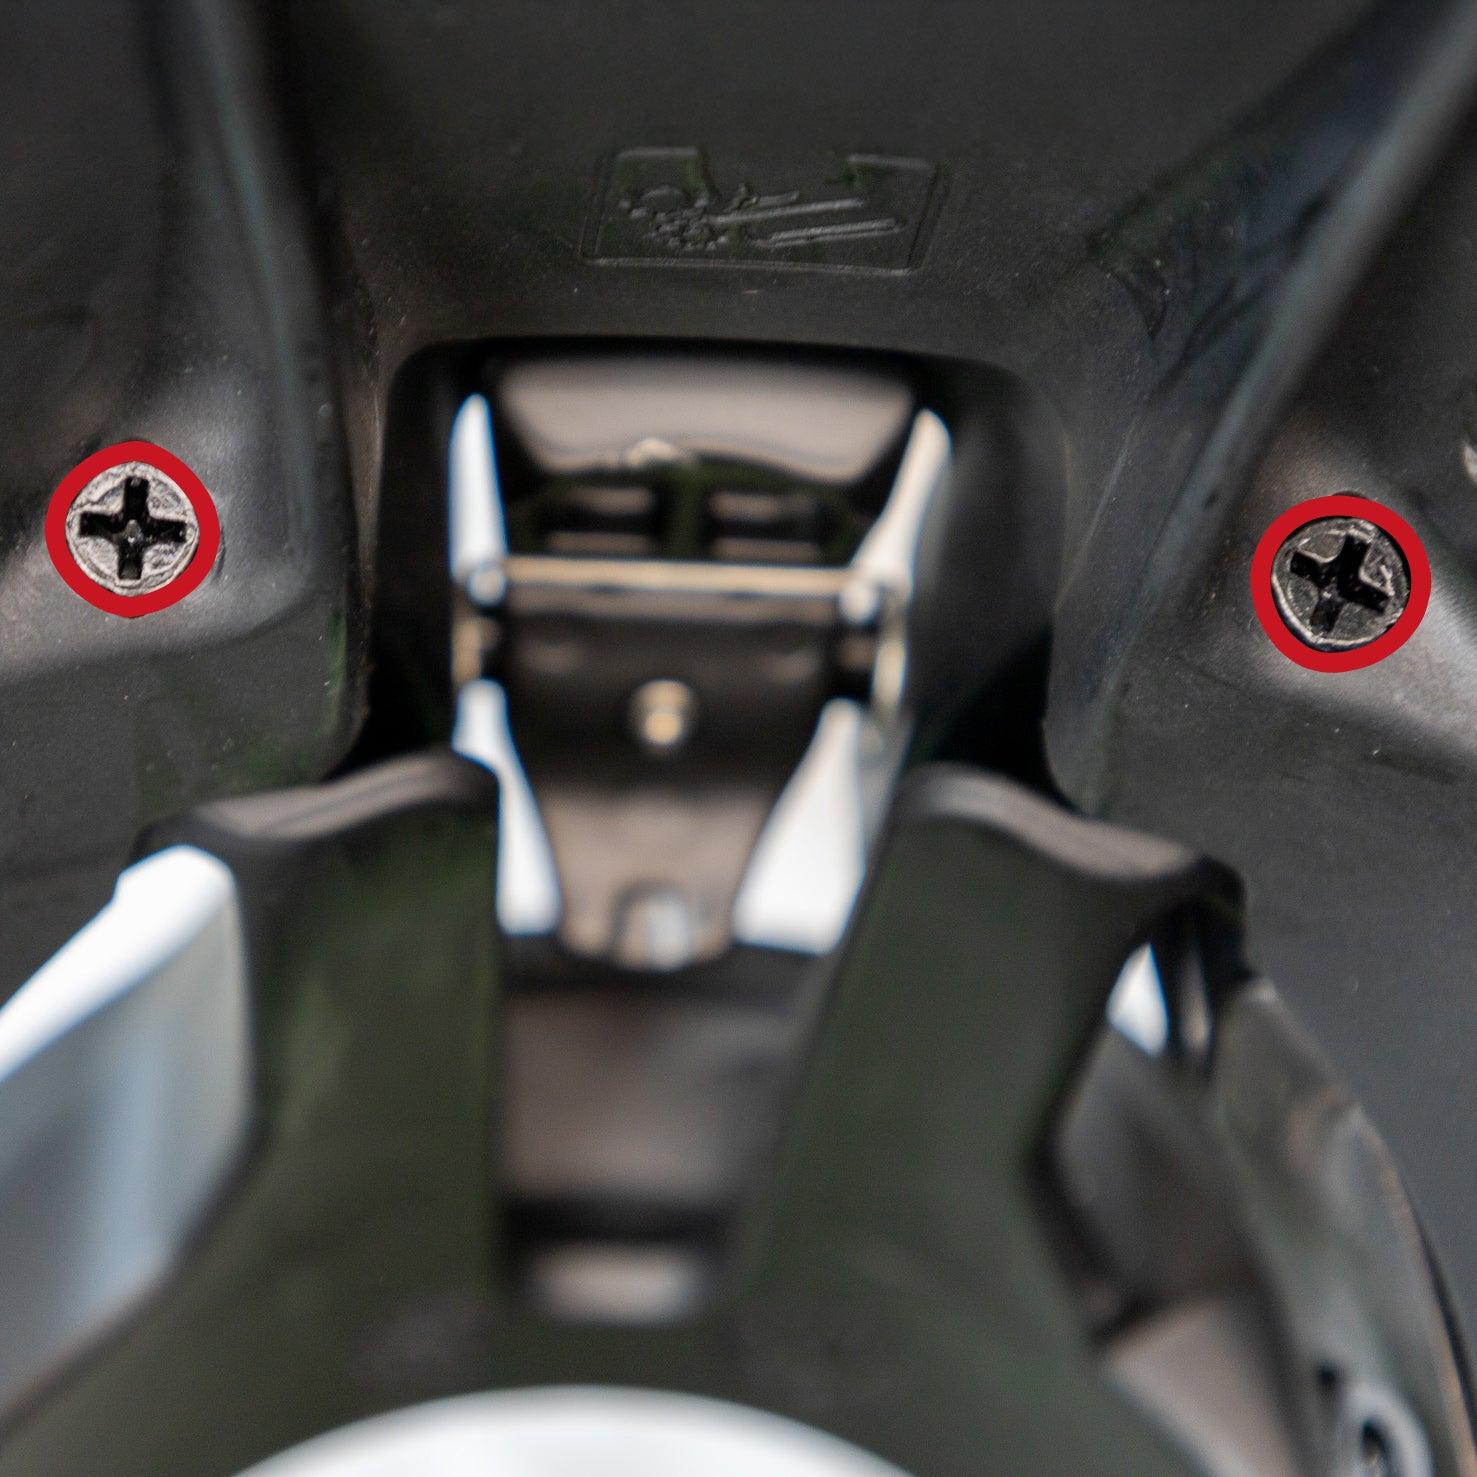
Forward Lean Adjuster (FLAD)
The two screws located inside the highback are the Forward Lean Adjuster, or FLAD, which lets you micro-adjust your forward lean angle with a screwdriver.
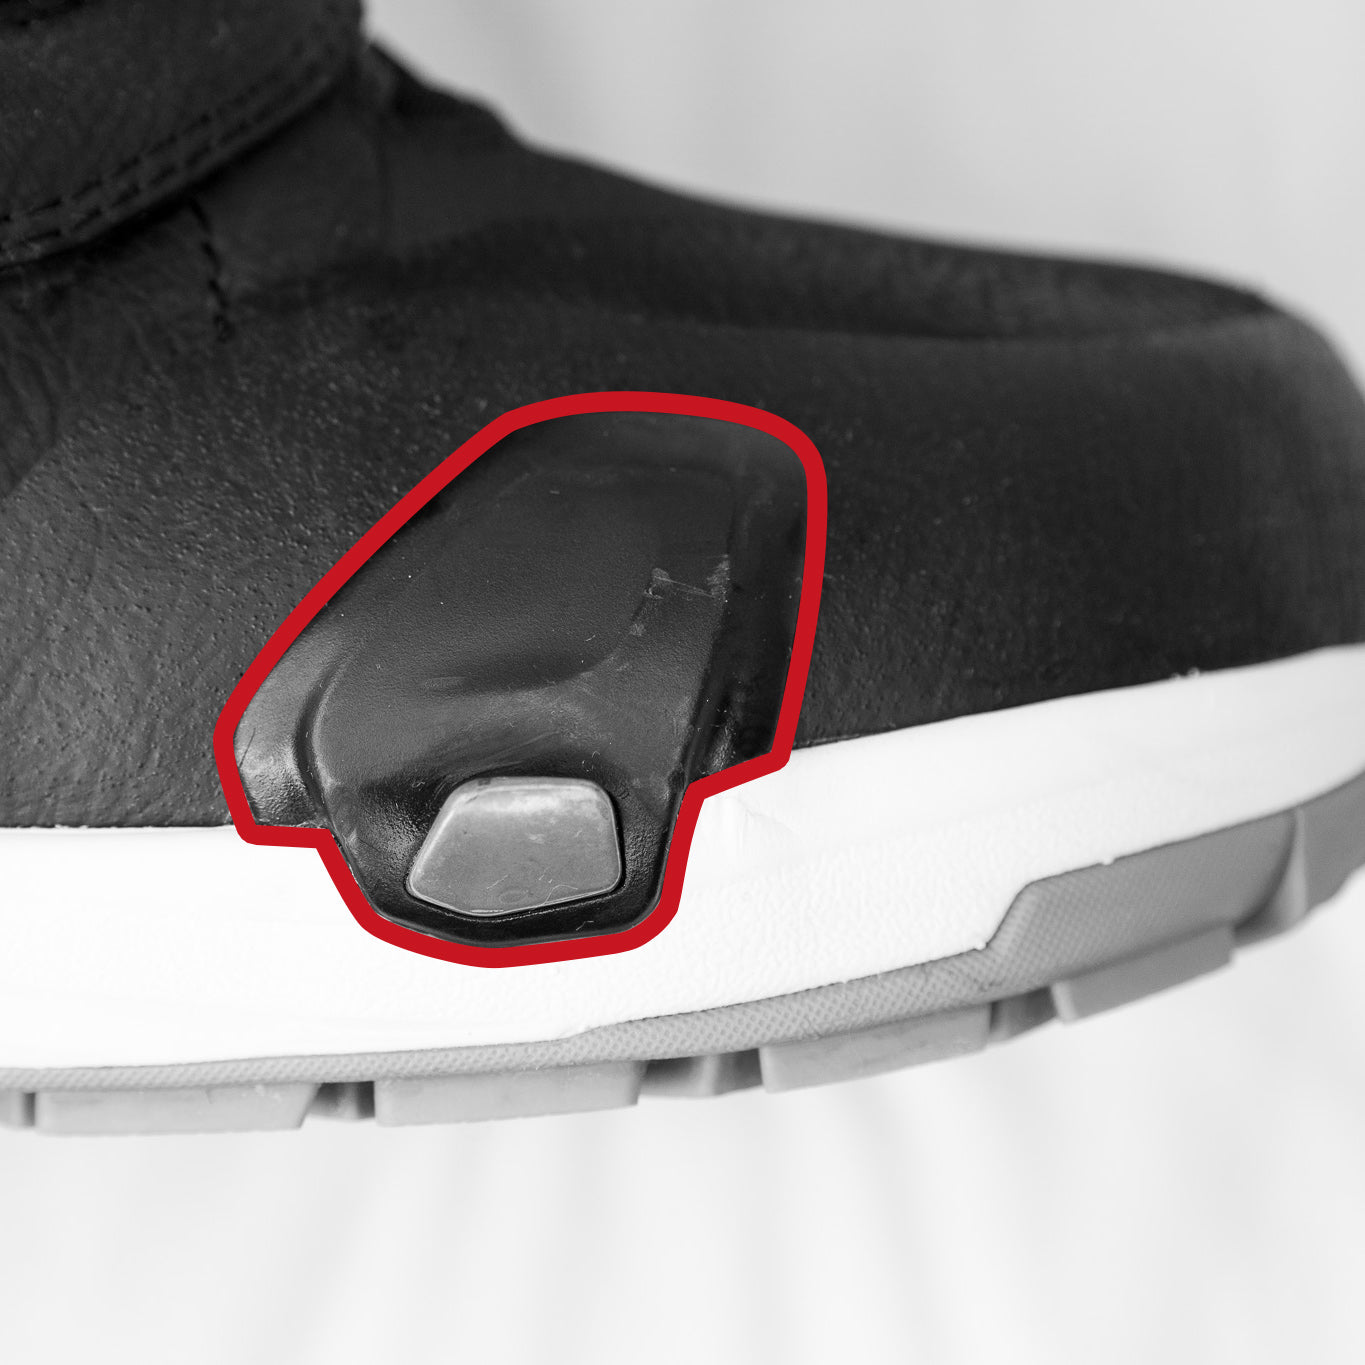
Toe Cleats
The Toe Cleats are located on both sides of the boot’s toe and keep your toe aligned and connected with the front Toe Hooks of the Step On® binding.
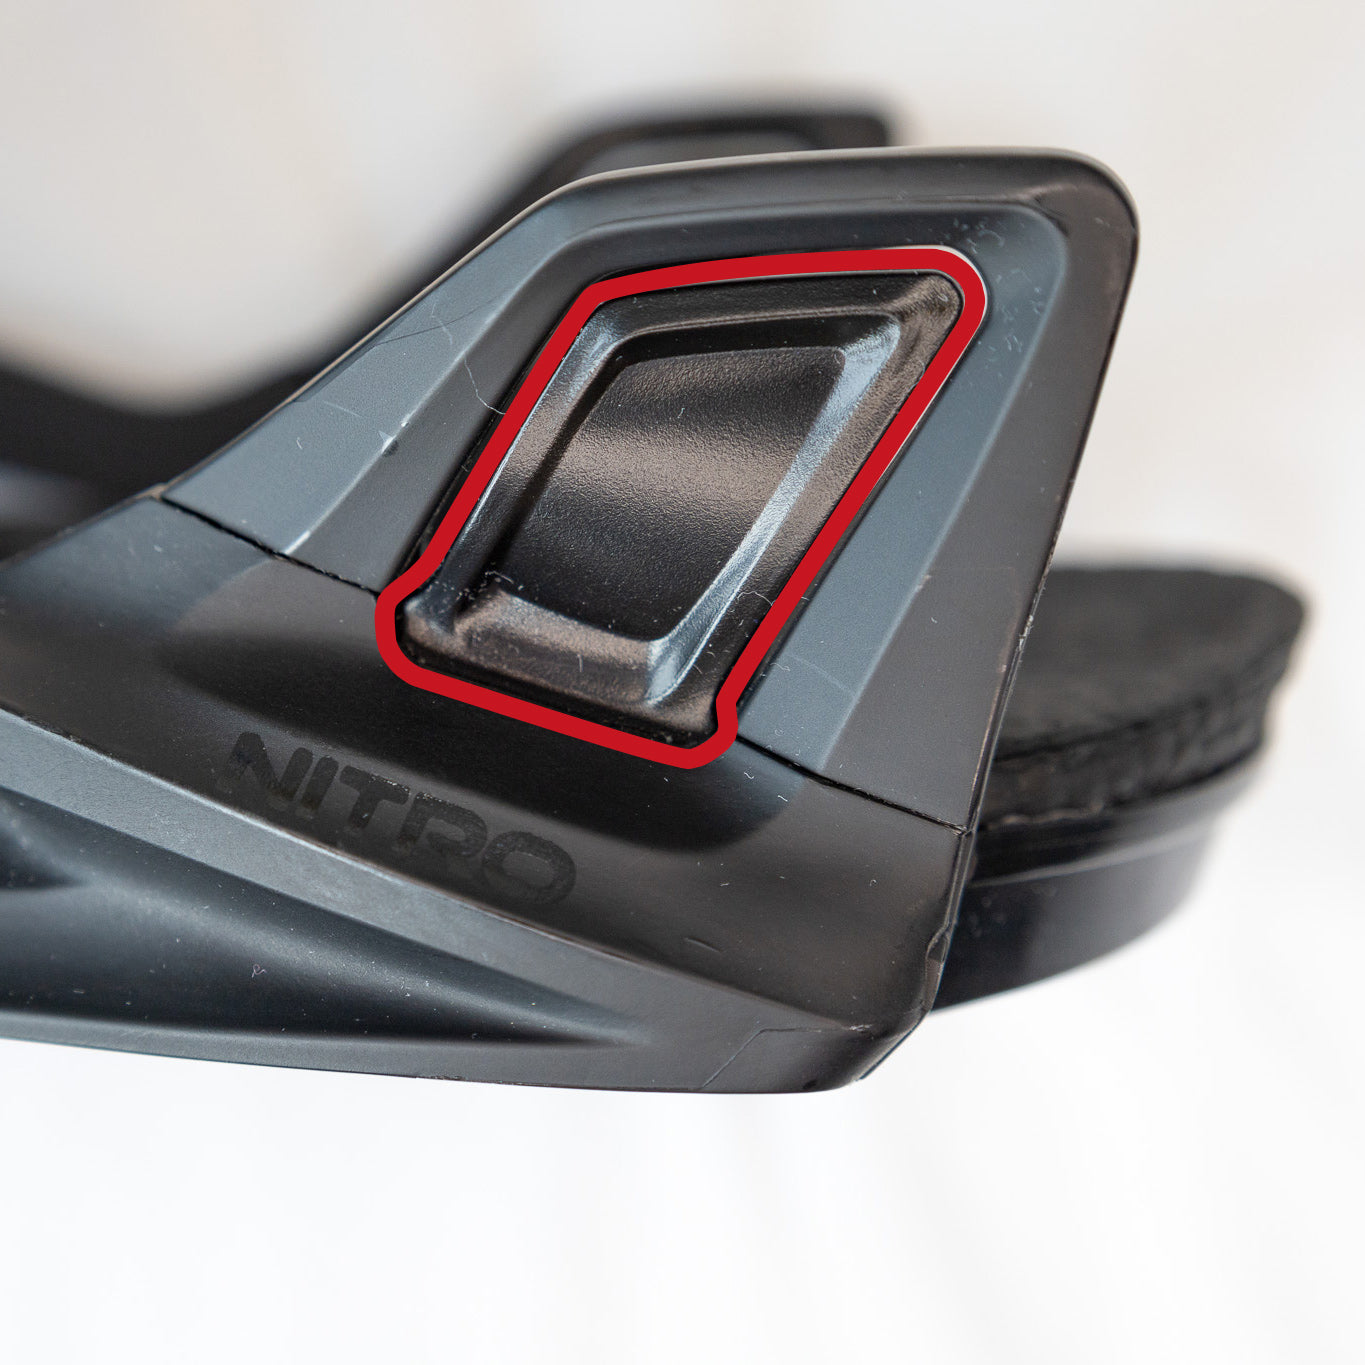
Toe Hooks
Integrated into the binding baseplate, the spring-loaded Toe Hooks capture the boot’s Toe Cleats with a single downward step, ensuring fast and reliable entry. These parts are also replaceable.
3. The Set-Up
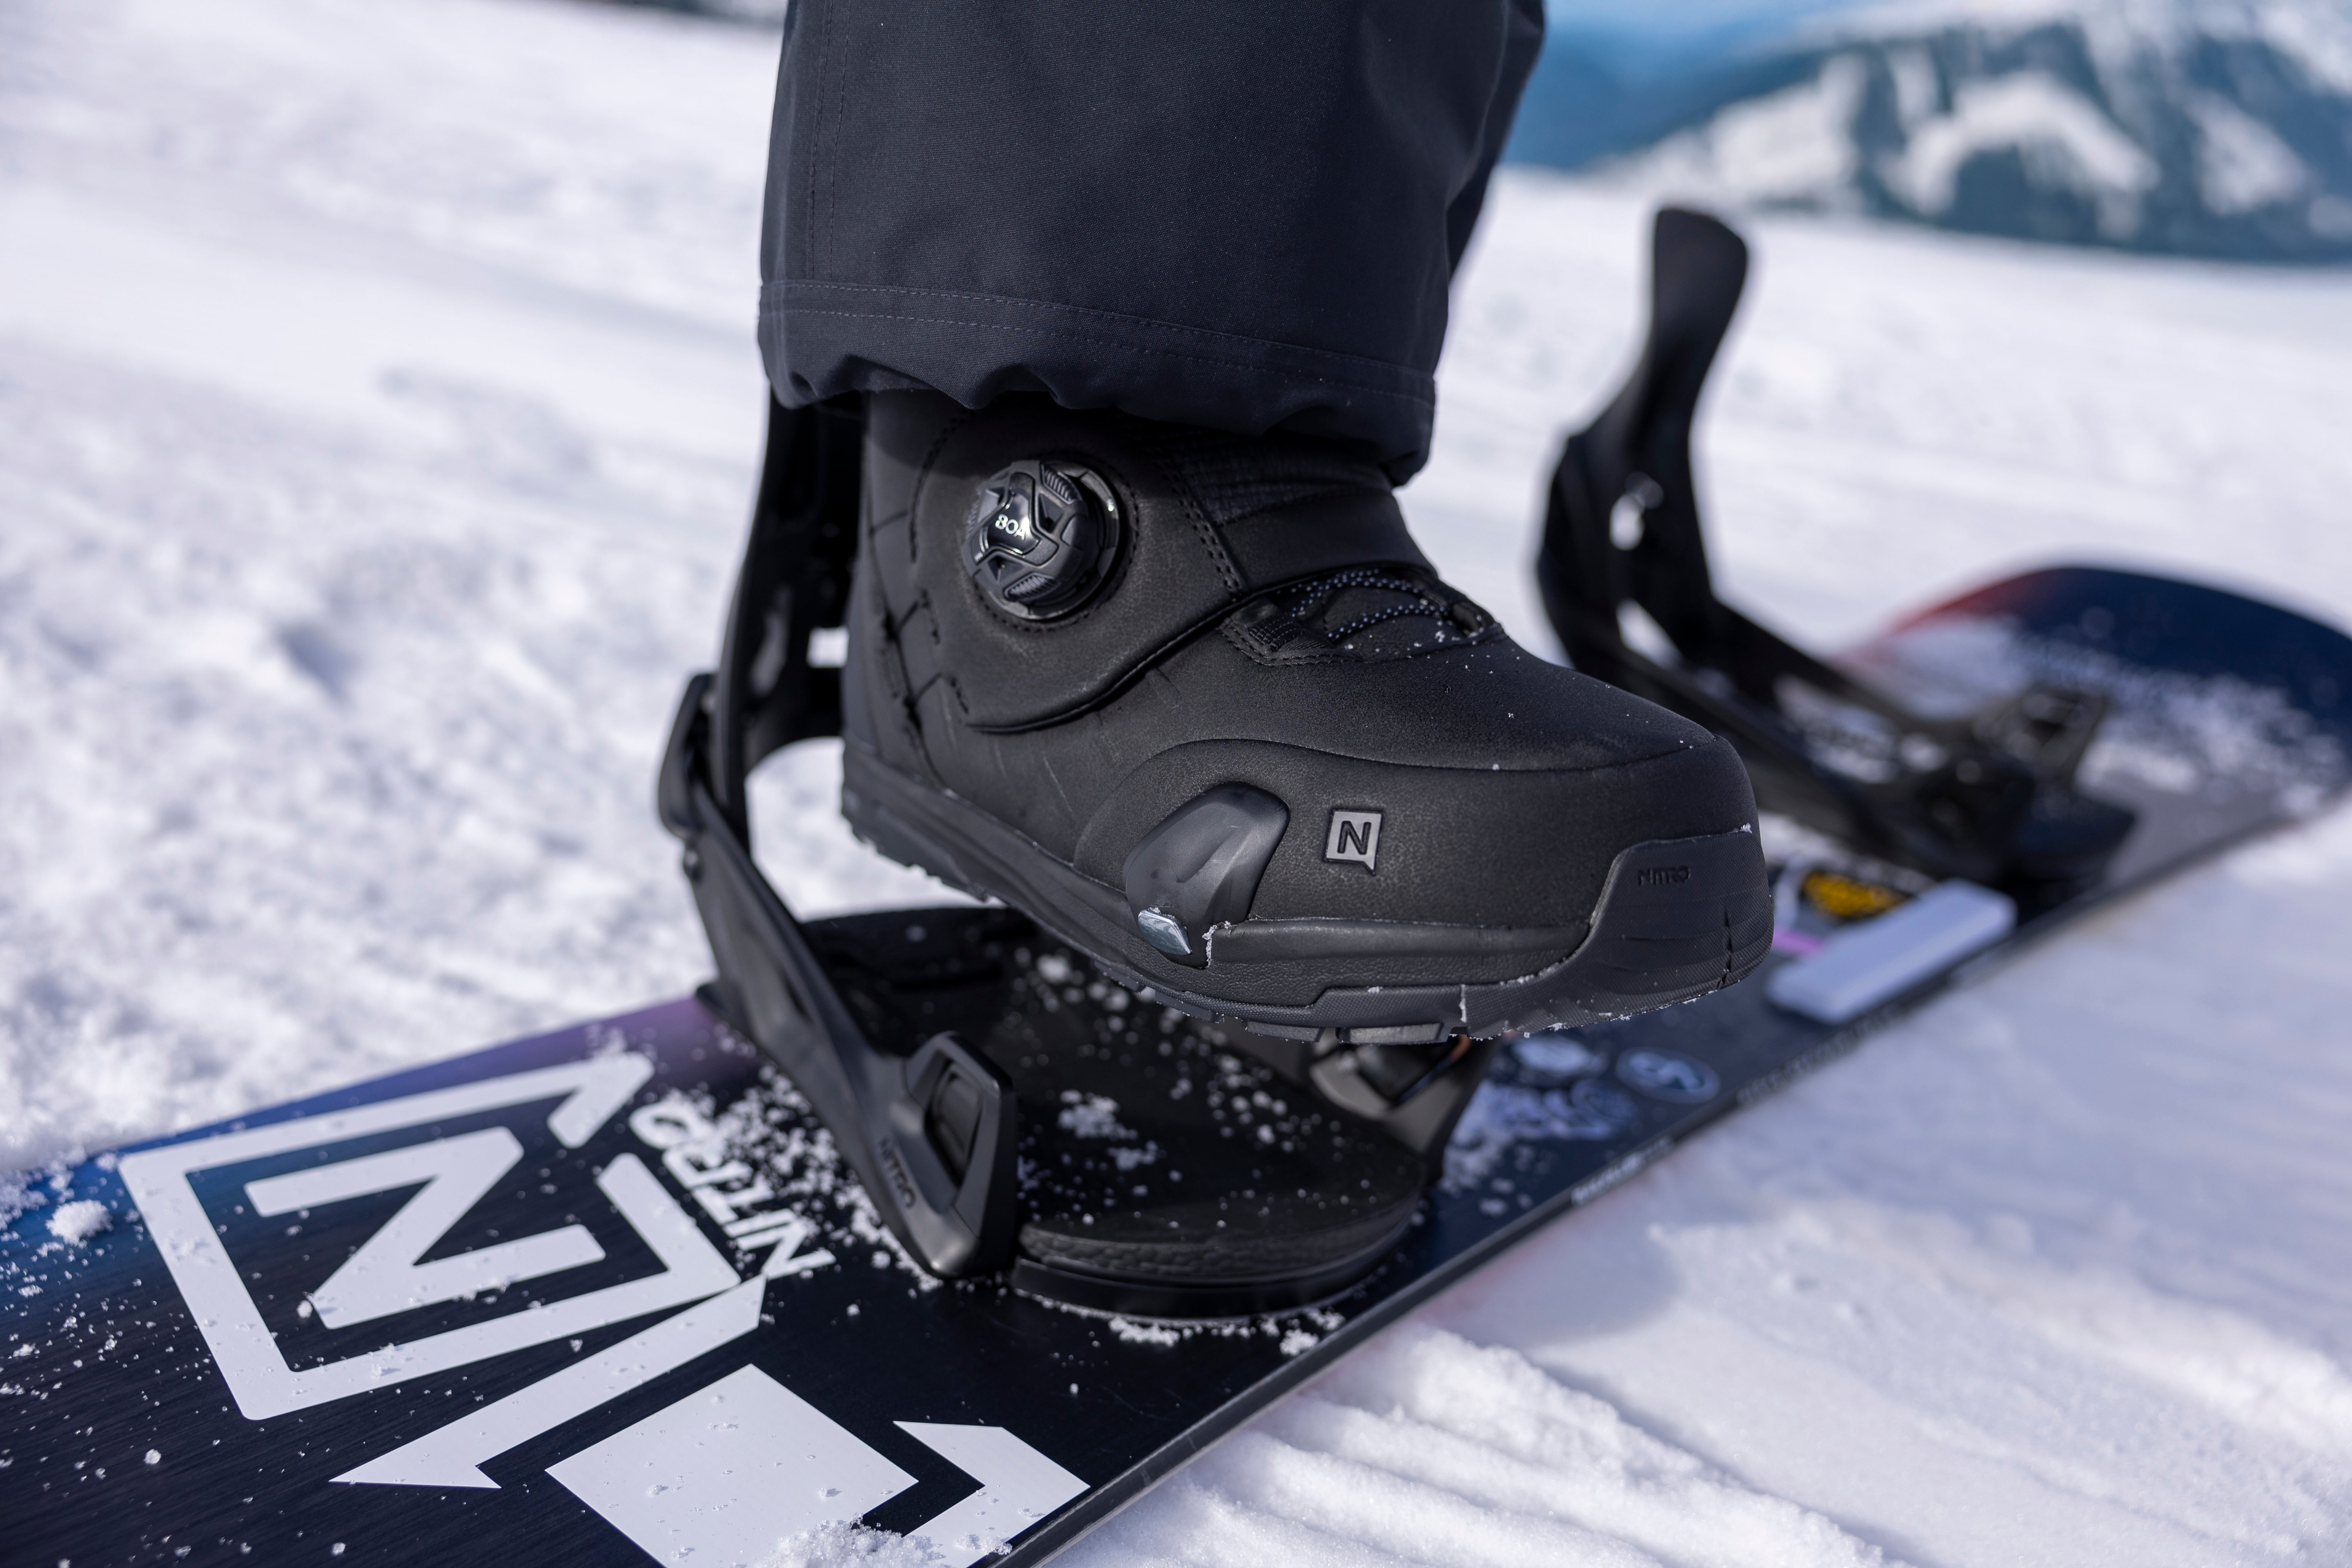
Size matters. Make sure you have the right Step On® binding size for your boots, and confirm that boot and binding sizes match before using the system.
Step 1: Know Before You Step On®
Read this entire guide before using the Step On® system. Understanding the instructions and potential risks will help ensure proper use of your boots and bindings.
Step 2: Match Boots and Bindings
Only Step On® boots work with Step On® bindings. Do not attempt to use them with any other system. Always confirm that your boots and bindings are designed to work together.
Step 3: Check Size and Fit
The Step On® system is both size- and gender-specific. Refer to the size chart to confirm that your binding size matches your boot size. Women’s boots must be paired with women’s bindings, and men’s boots with men’s bindings. Using incompatible sizes or genders can cause a malfunction and compromise safety.
Step 4: Use a Leash
Always attach the included leash before riding. Thread the large loop through the instep side of your front binding, pass the clip through the loop, and connect it securely to your boot.
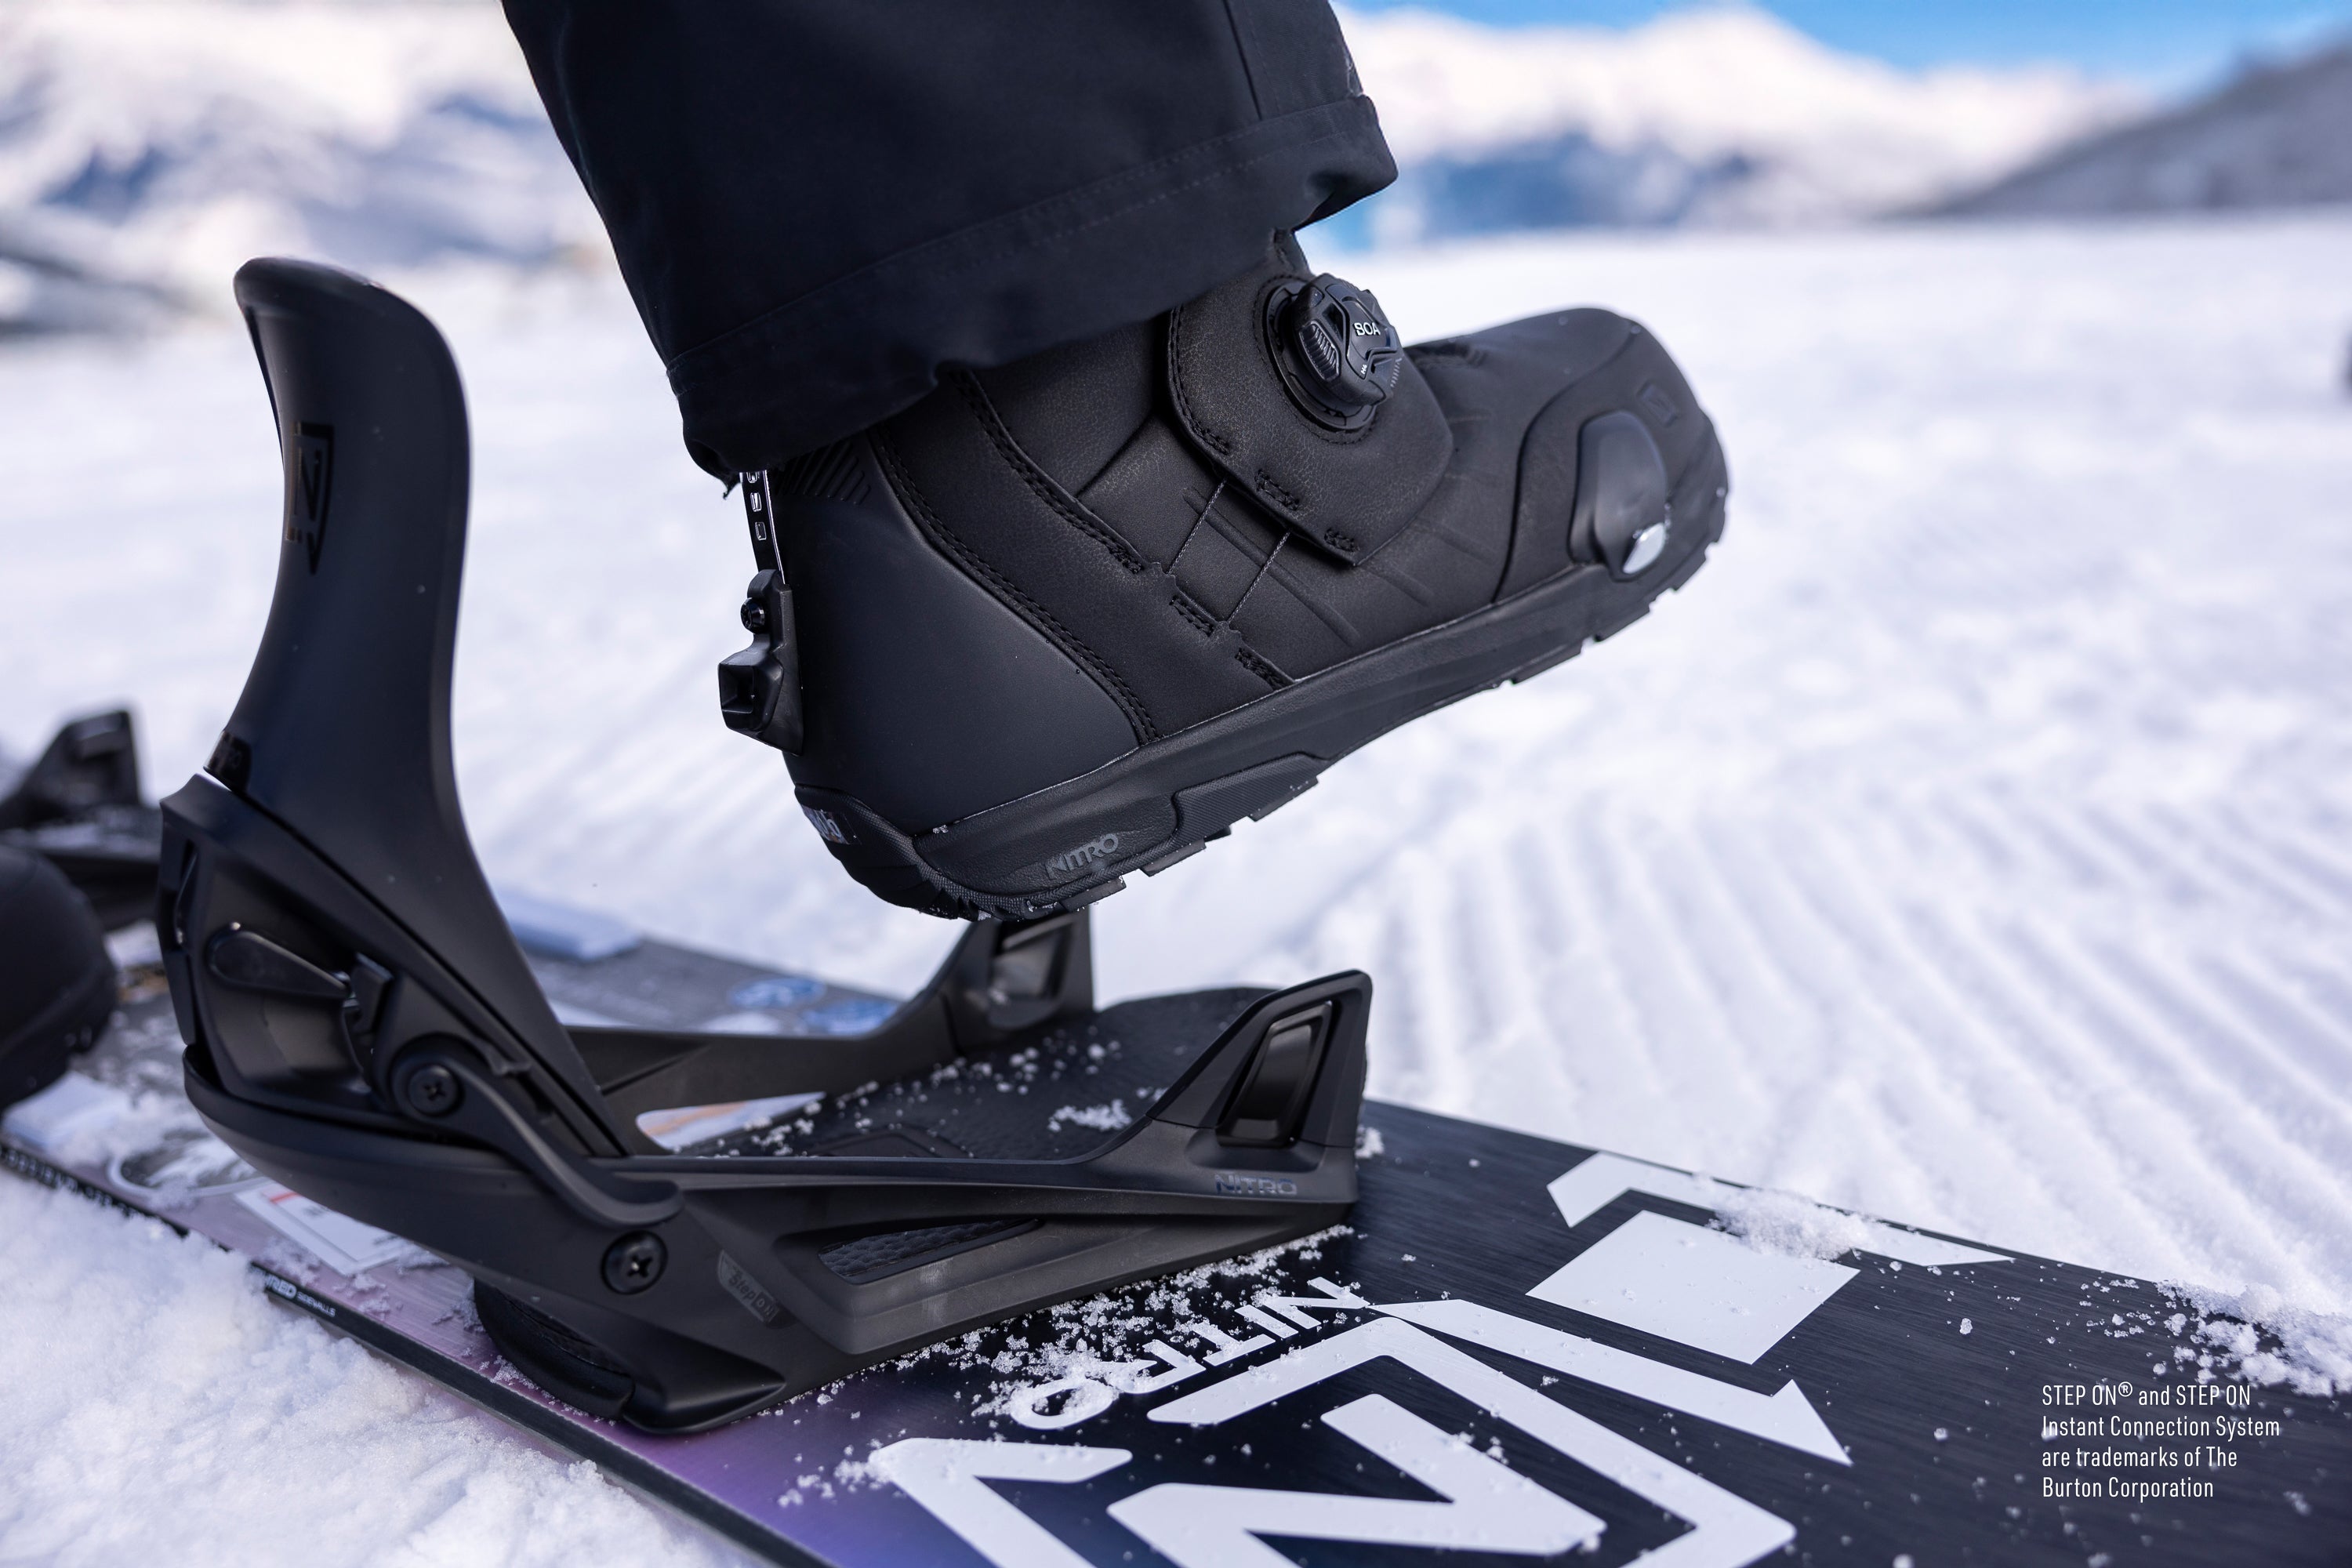
Nitro Step On® bindings feature an ETP-U adjustable Gas Pedal, designed to fine-tune your fit, reduce toe and heel drag, and deliver more power through your turns. Proper adjustment ensures smooth engagement of the Toe Cleats for an easy, secure connection. Before stepping on and riding, set the Gas Pedals to match your boot size.
Step 1: Release
Release the rear tabs located in the back corners by gently prying them open with a screwdriver or your index finger.
Step 2: Slide
Lift the Gas Pedal and slide it forward, toward the toe side, until it aligns with your boot sole length. Use the indexed settings next to the rear tabs, marked with US boot sizes, to quickly find the correct position.
Step 3: Lock
Lock the adjustment in place by snapping both rear tabs back into the baseplate notches.
Step On® Sizing
| Men’s Binding Size | S | M | L | XL |
|---|---|---|---|---|
| Men’s Boot Size | 6–8 US / 24–26 MP / 38–41 EU | 8.5–10.5 US / 26.5–28.5 MP / 41.5–43.5 EU | 11–13 US / 29–31 MP / 44–46 EU | 14–15 US / 32–33 MP / 47–48 EU |
| Women’s Binding Size | S | M | L | Not available |
| Women’s Boot Size | 5–6 US W / 22–23 MP / 35–36.5 EU | 6.5–8.5 US W / 23.5–25.5 MP / 37–40.5 EU | 9–11 US W / 26–28 MP / 41–43 EU | Not available |
4. Getting In (Stepping On) & Getting Out

Step 1: Clear
Make sure your boots and bindings are free of snow, ice, and debris. Tighten your boots securely and tuck pant cuffs into the Cuff Clips so they do not interfere with the Heel Cleat.
Step 2: Heel
Starting with your front foot, position your boot over the binding and slide your heel down along the highback until the Heel Cleat locks into the Heel Clip. One click means you are locked in; push down further for a second click and a more responsive lock and feel.
Step 3: Toes
Shift your weight forward and press your toe down until both Toe Cleats snap into the Toe Hooks. If one does not engage immediately, gently roll your boot side to side until both lock in securely.
Step 4: Back Foot
Repeat the process with your back foot, and you are ready to ride.
Important
Always double-check that all Heel and Toe Cleats are fully engaged before riding. Failure to do so may result in serious injury.

Exiting your Nitro Step On® binding is quick and simple. Pull the Release Lever, lift your heel, shift your weight toward your toes, and rotate your foot slightly to step free.
Warning
Attention When Riding Chairlifts
When loading a chairlift, always fold your back foot highback down. This prevents it from catching on the chair or terrain and protects the binding from potential damage.
Partners